PoliData - Analyzing Tweets using GPT-3
Abstract
This blog post delves into the implementation of a React web app that utilizes the Twitter API, creates a custom backend server using a Raspberry Pi with Python, and integrates the GPT-3 API to analyze tweets.
About
PoliData is a personal project aimed at improving my understanding of React development, backend creation, and AI integration. The primary goal is to develop a dynamic website that displays the most recent tweets by German politicians, allowing users to analyze them using GPT-3's NLP AI by asking generic questions such as "What is the author's intention?"

Overview
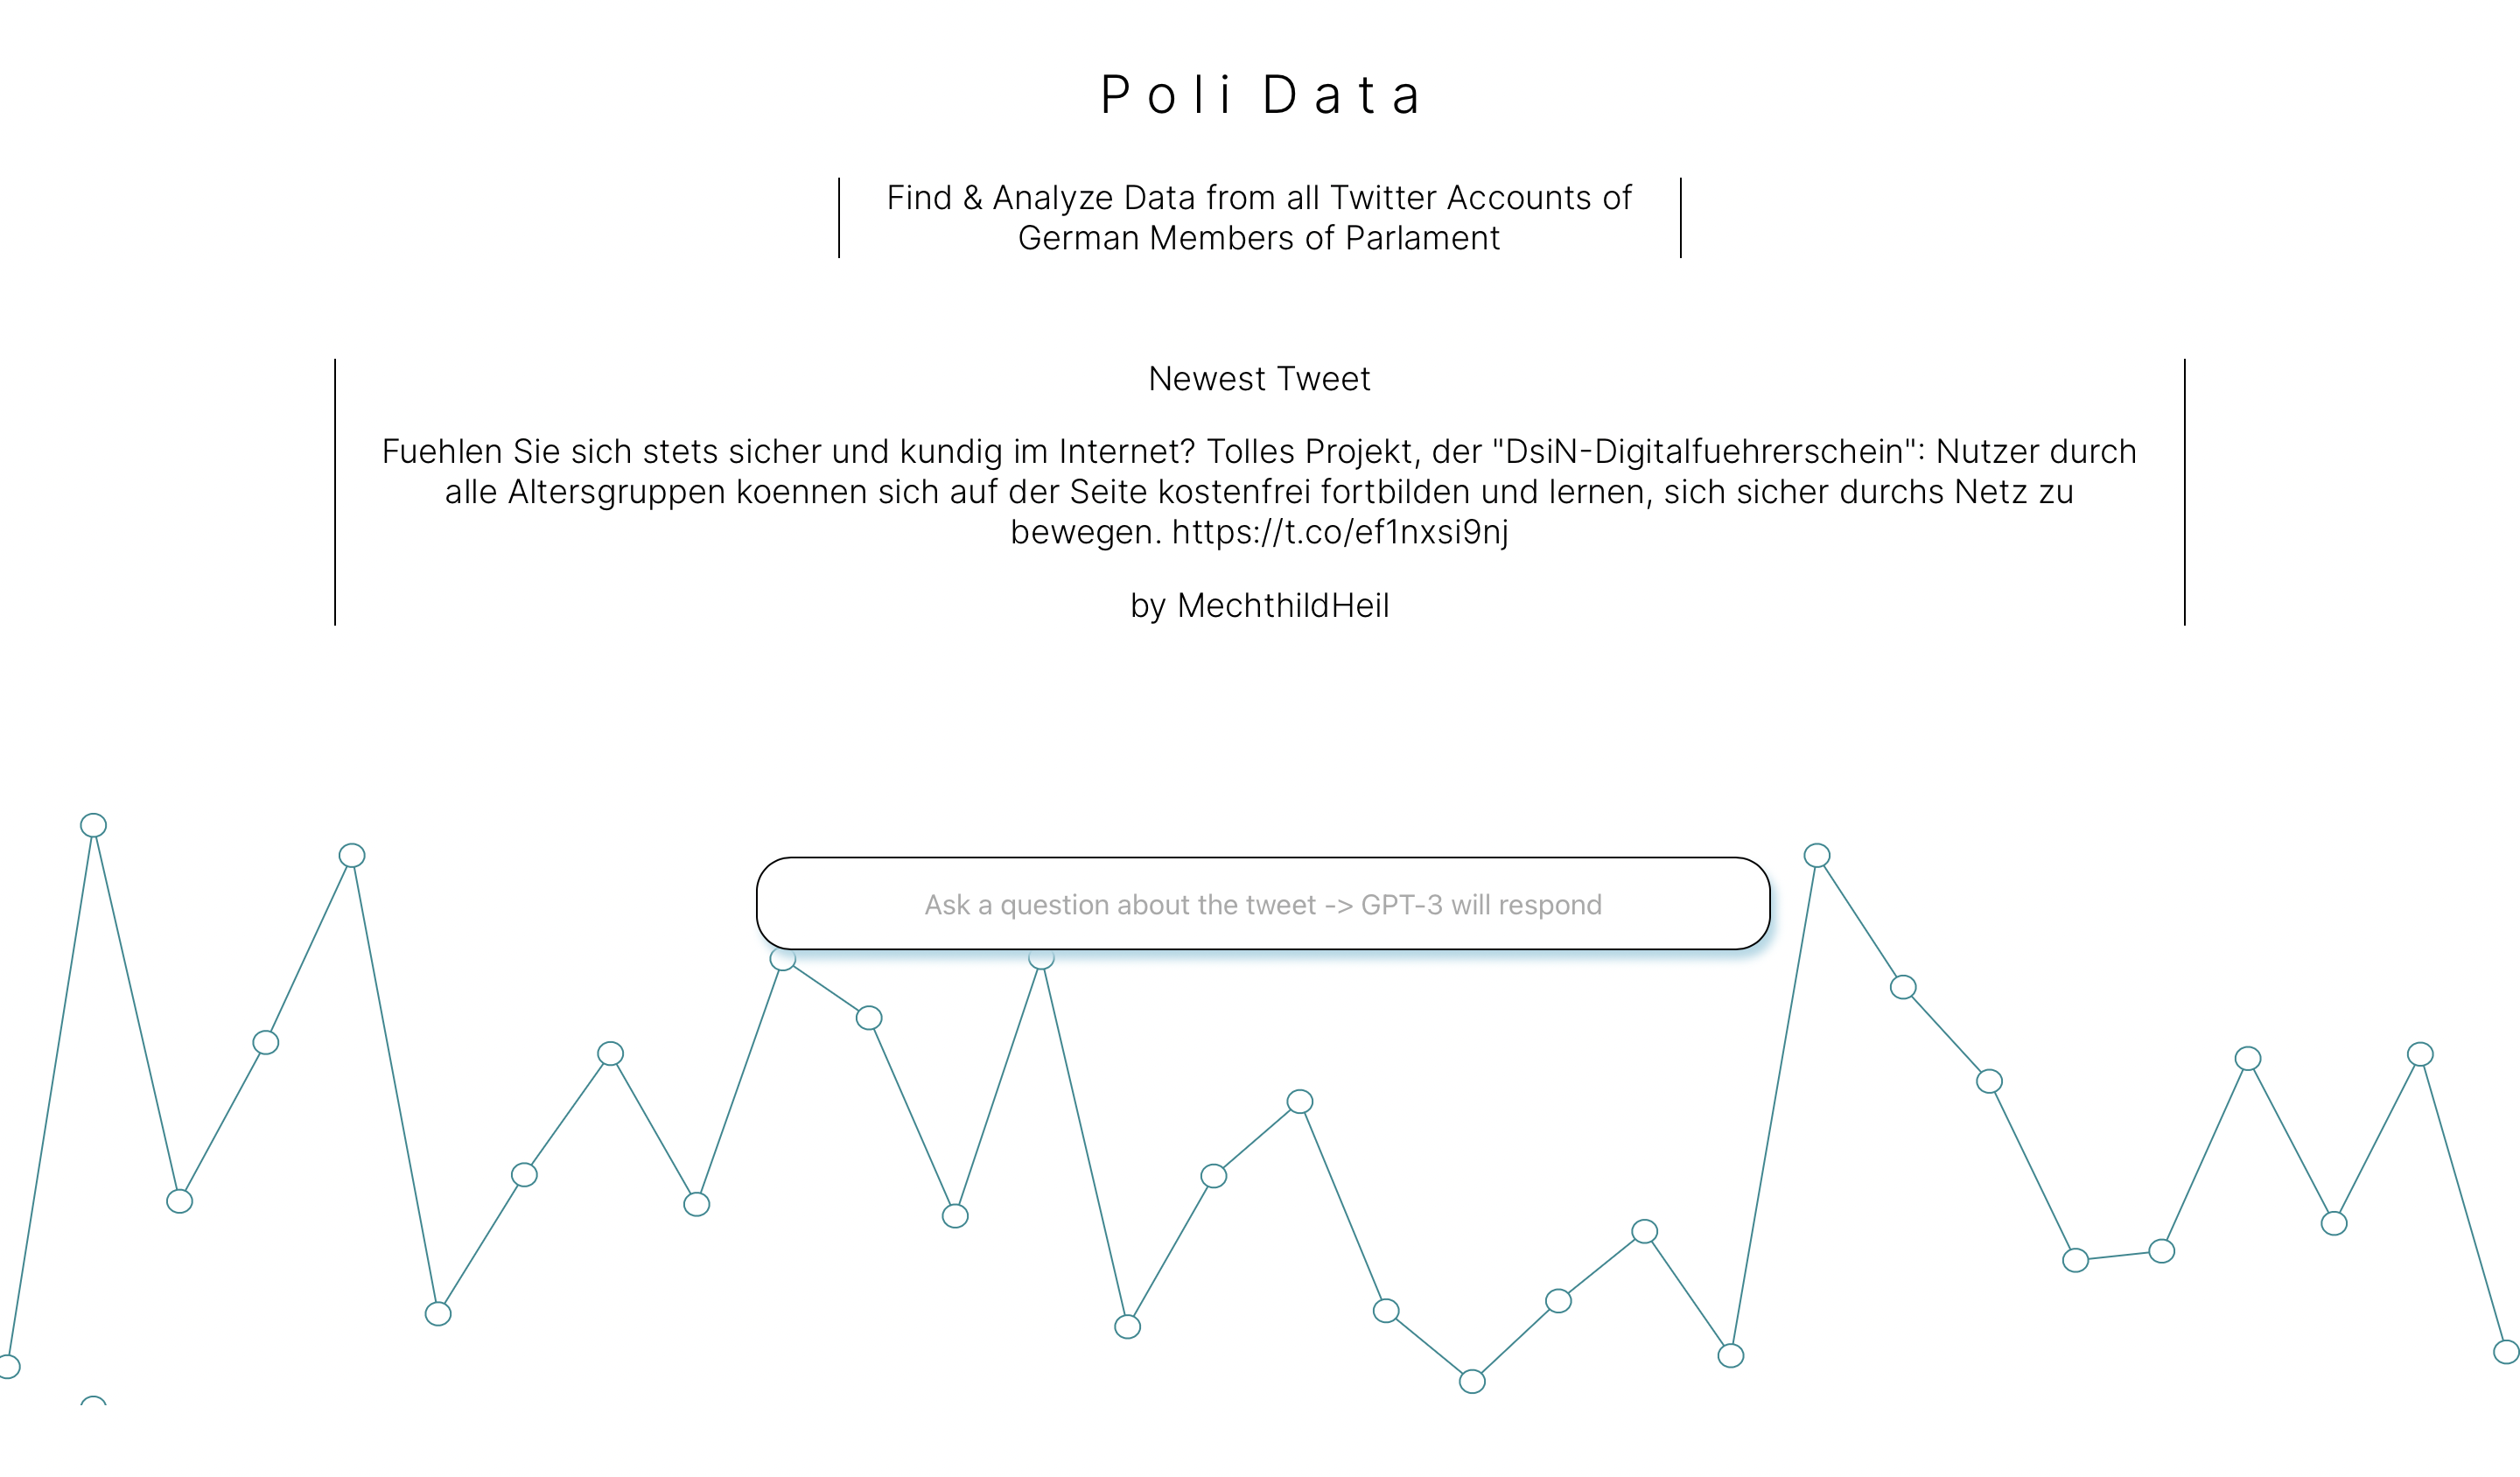
The React web app is designed to be self-explanatory and straightforward. The main page displays the newest tweet posted by a German member of parliament along with their name.

This is achieved by utilizing the Twitter API. When a new tweet is posted, it is streamed directly to the Firebase Database. To accomplish this, a Python script runs on a Raspberry Pi, which periodically checks for new tweets.
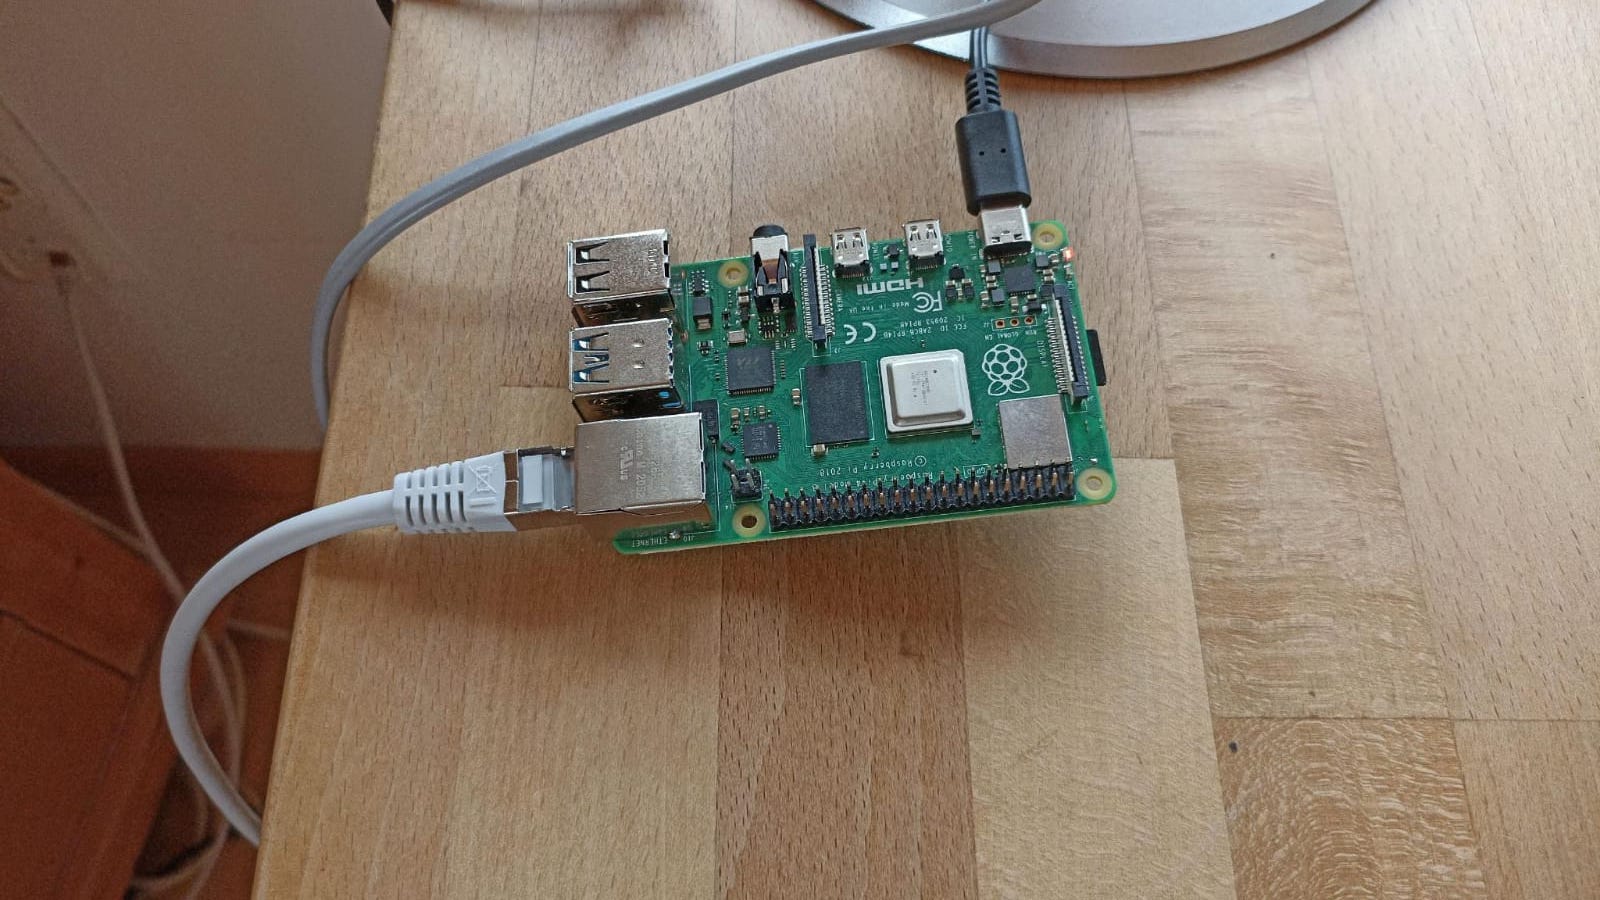
Here is an image of the Raspberry Pi used for this project:

The latest tweet is then displayed to the user. By using the search bar on the front page, users can ask questions about the tweets, and OpenAI's GPT-3 provides the answers. This functionality is implemented through the GPT-3 API.
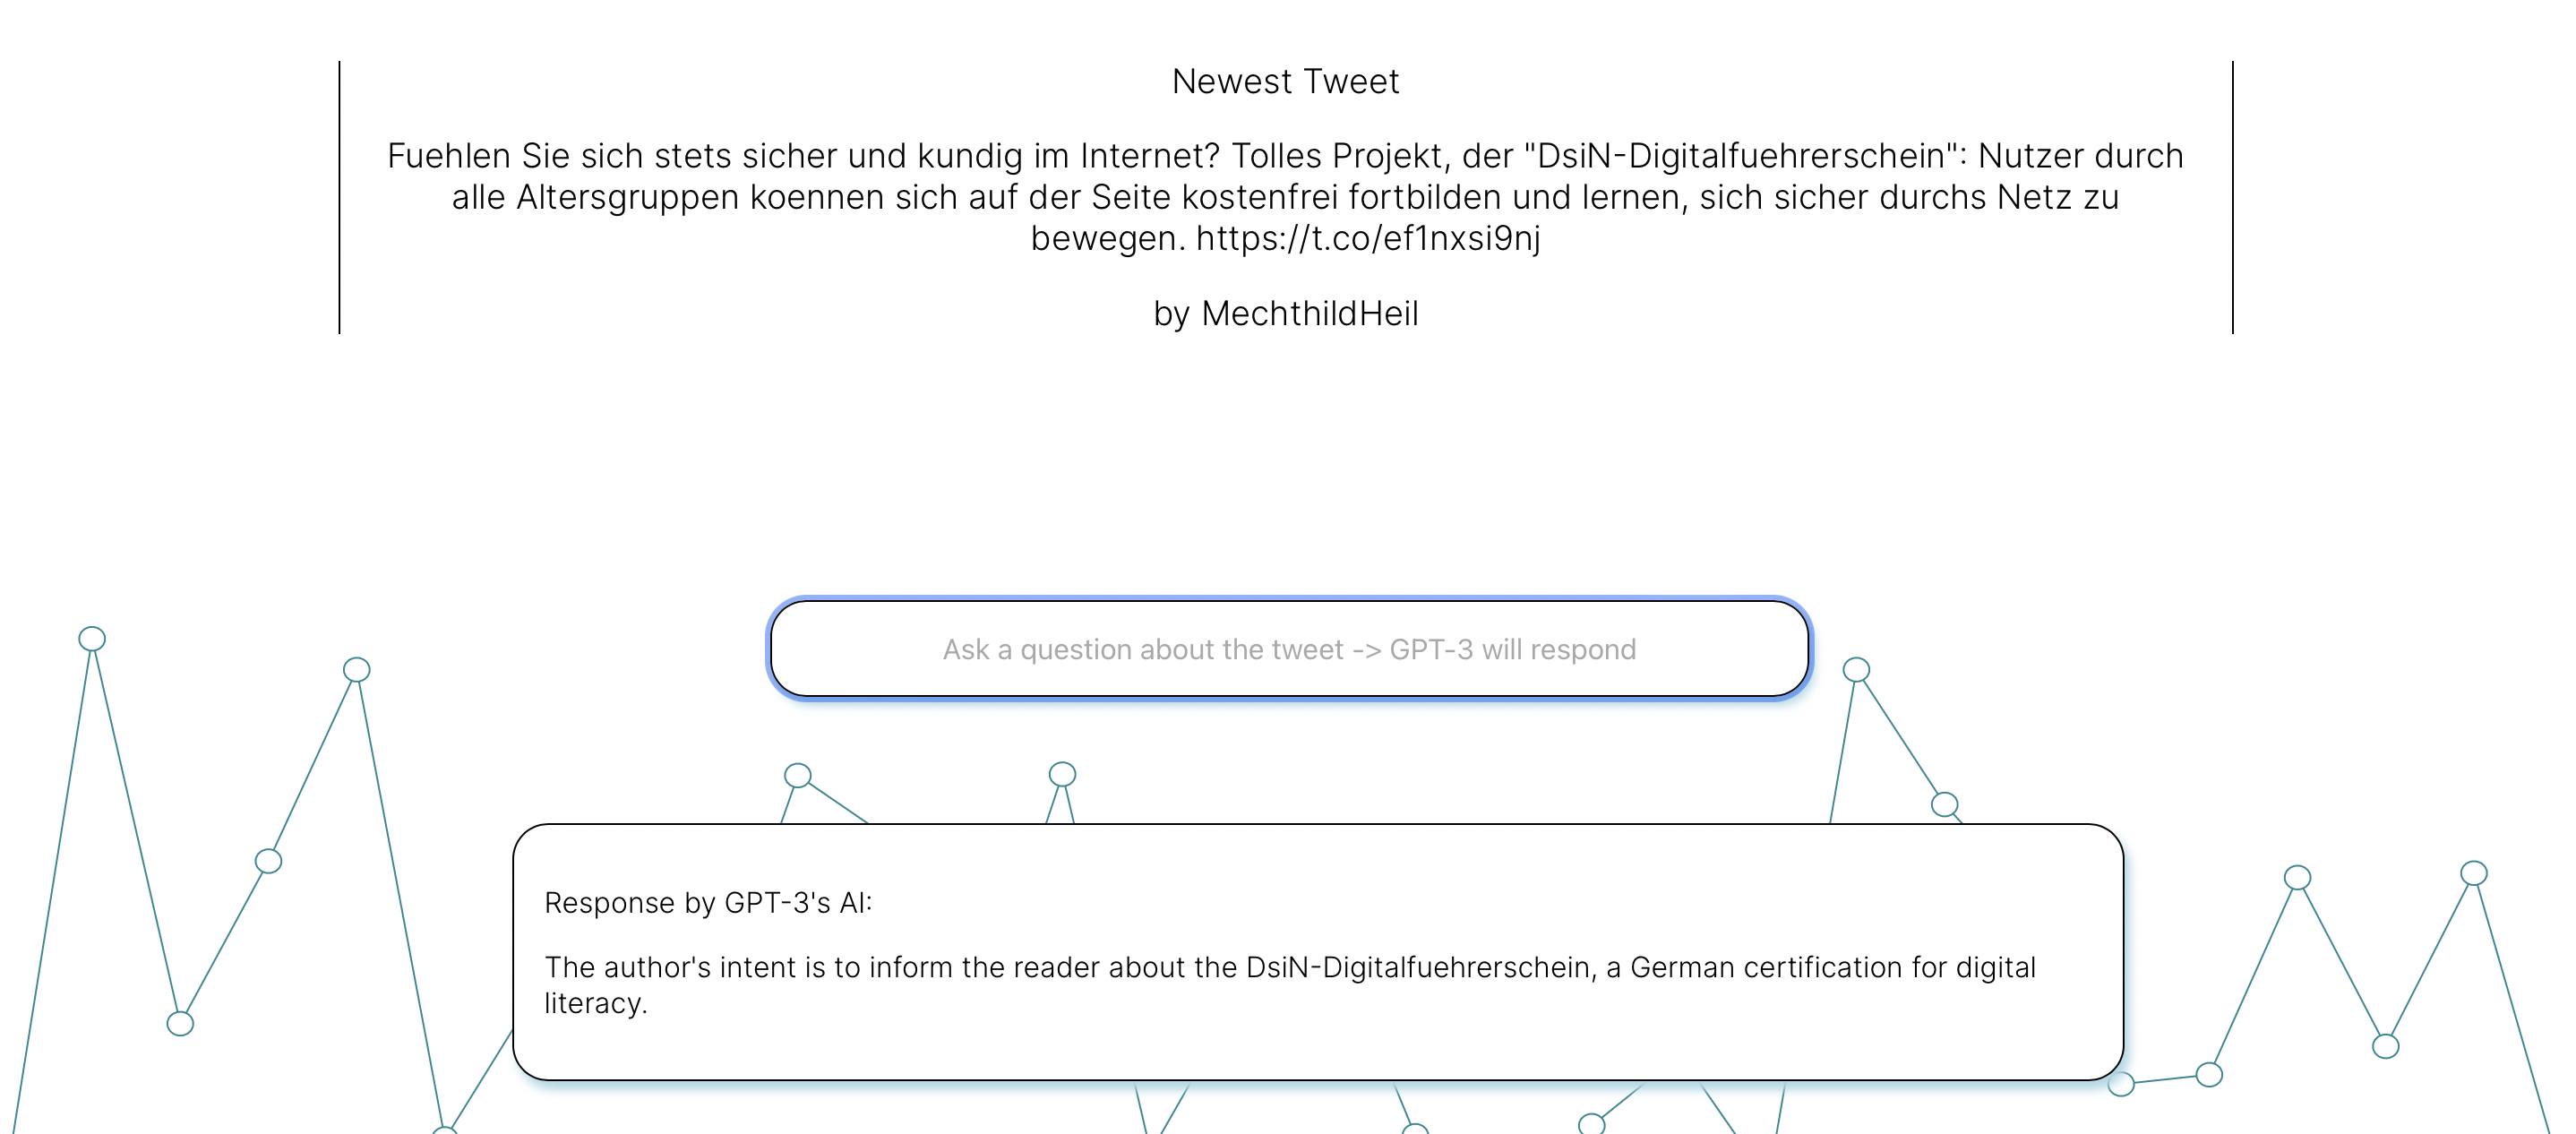
Below are some sample questions and answers:
Question:

Response:

In the following paragraphs, I will explain the concepts behind the code, providing a better understanding of the overall architecture of this application.
Twitter API and Uploading to Firebase
Initially, I developed a Python script that streams the latest data from a specific Twitter list.
To access the Twitter API, private API keys are required. For security reasons, I won't display the keys here.
# Secret Keys for Twitter API
consumer_key = "<consumer_key>"
consumer_secret = "<consumer_secret>"
access_token = "<access_token>"
access_token_secret = "<access_token_secret>"
We then have to authenticate ourselves. I then created a list which contains all the members of the list in order to stream their newest tweets.
# Creating the authentication object
auth = tweepy.OAuthHandler(consumer_key, consumer_secret)
# Setting your access token and secret
auth.set_access_token(access_token, access_token_secret)
# Creating the API object while passing in auth information
api = tweepy.API(auth)

#ListID of Bundestagsabgeordnete
list_id = 912241909002833921

# Creating List of Members

list_of_list_members = []

for member in api.get_list_members(list_id=list_id, count = 800):
   list_of_list_members.append(member.id_str)

auth = tweepy.OAuthHandler(consumer_key, consumer_secret)
auth.set_access_token(access_token, access_token_secret)
myStream = CustomStreamListener(consumer_key, consumer_secret, access_token, access_token_secret)
myStream.filter(follow = list_of_list_members, threaded = True)
As you can see, I've created a custom StreamListener. In this class I implemented the logic to upload our data to firebase.
If our StreamListener receives a new tweet, the on_status method from the parent class is called. We override this method an implement our logic:
def on_status(self, status):
        if self.from_creator(status=status):
            Created = status.created_at.strftime("%Y-%m-%d-%H:%M:%S")

            # Handling 140 words vs. 280 words in Tweets

            if status.extended_tweet['full_text'] is not None:
                Text = self.normalize_german(status.extended_tweet['full_text'])
            else:
                Text = self.normalize_german(status.text)

            print(Text)
            Follower = str(status.user.followers_count)
            Name = status.user.screen_name
            Friends = str(status.user.friends_count)
            FirebaseUpload.upload(Created=Created, Text=Text, Follower=Follower, Name=Name, Friends=Friends)
        else:
            pass
normalize_german() is a method that converts german "Umlaute" (like "ä", "ö", ...) to a better representation (like "ae" instead of "ä"). We also have do differenciate between short tweets (140 words) and long tweets (280 words) as the default attribute "text" only shows the first 140 words.
We then upload various data to Firebase which we can then use to process later.
Creating a react web application
There are various ways to create a react web application by using different frameworks (e.g. Gatsby). In this case I've decided to go for a default react application.

Originally, I designed the design of the website in Figma and then converted it to html, css and JavaScript.
Accessing the GPT-3 API
You first have to register for the API Access to get a API key. This key can then be used to access the GPT-3 API:
const { Configuration, OpenAIApi } = require("openai");
const configuration = new Configuration({
  apiKey: "<add API key here>",
});
const openai = new OpenAIApi(configuration);
function oToString(o) {
  return (
    "Text: " +
    o.Text.toString() +
    ", Written_By: " +
    o.Written_By.toString() +
    ", NumberOfFollowers: " +
    o.NumberOfFollowers.toString() +
    ", Friends: " +
    o.Friends.toString() +
    ", Created: " +
    o.Created.toString
  );
}
export function getResponse(input, data) {
  const response = openai.createAnswer({
    search_model: "ada",
    model: "curie",
    question: input.toString(),
    documents: [oToString(data)],
    examples_context: oToString({
      Text: "Auf das weniger „erfolgsverwoehnte“ Sachsen trifft das ebenfalls zu … 🥲 https://t.co/e9j86Fq2Tv",
      Written_By: "BHerrmann_",
      NumberOfFollowers: "1487",
      Friends: "1381",
      Created: "2022-04-18-13:05:14",
    }),
    examples: [
      [
        "Who wrote 'Auf das weniger „erfolgsverwoehnte“ Sachsen trifft das ebenfalls zu … 🥲'",
        "BHerrmann_",
      ],
      ["When was the tweet written?", "2022-04-18-13:05:14"],
    ],
    max_tokens: 50,
    stop: ["\n", "<|endoftext|>"],
  });
  return response;
}
We provide the AI model with some sample tweets and some formated data, which we pass from our Firebase Backend. This is realized by the method onSubmit() which listens for a text submit from the search bar on the front page:
async function onSubmit(event) {
  event.preventDefault();
  // Getting Response from GPT-3
  getResponse(searchInput, sampleTweet).then((val) =>
    SetText(val.data.answers[0]),
  );
  // Logging
  //console.log(sampleTweet);
  displayResponse(true);
  setSearchInput("");
}
Summary
This was a very brief overview of the project architecture. Please check out the project on GitHub to get a better overview of the overall structure.